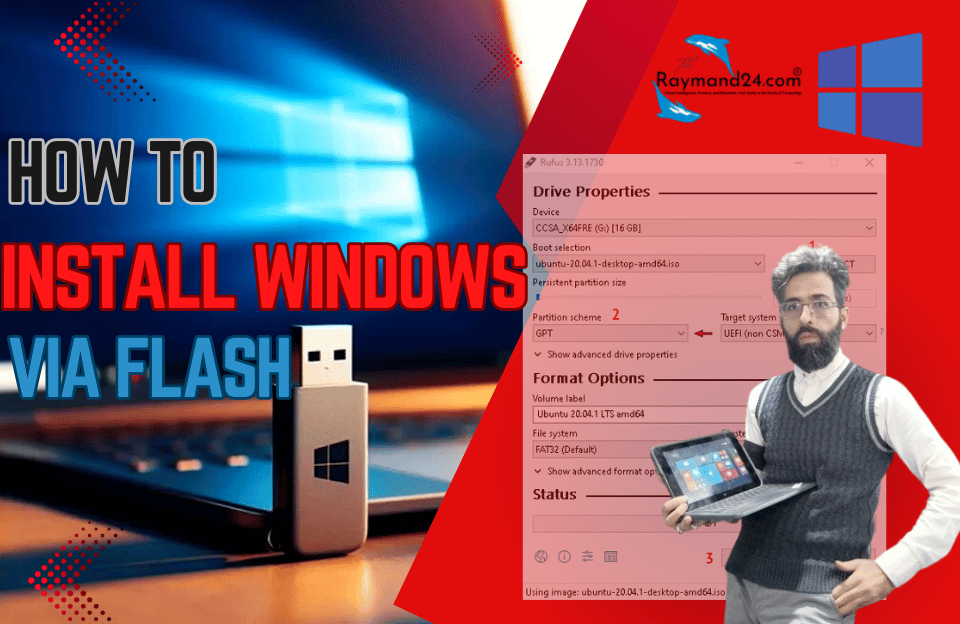
If you want to install Windows on your computer, but your laptop or computer doesn’t have a CD or DVD drive, you’ll need to do it via a flash drive. For this purpose, you need to create a Windows flash boot and put the Windows installation files into it. In this article, we will get to know the method of making Windows flash boot for different versions of this operating system.
In the rest of this guide, we will create a simple USB drive that acts as a Windows installation DVD. In this way, you can install a copy of Windows on your computer or laptop. It is possible to make a flash boot of Windows that contains several versions of Windows, but the work steps are different from the method we will explain below.
Step 1: Create or download the Windows installation ISO file
Before you can create a Windows installation drive, you must have the Windows installation files as an ISO file. If you have a Windows installation DVD, you can use software like imgBurn to create an ISO file. But if you don’t have such a DVD, you need to download the corresponding Windows 7, 8, or 10 ISO file directly from the Microsoft website. Note that these downloaded files contain the original version of Windows and you must obtain a legal license to use it. If this is not possible, you should obtain the Windows installation ISO file from third-party websites that offer unlicensed versions of Windows.
To install Windows via a flash drive, you must have a flash drive with at least 4 GB of space to create the installer file. Before creating a Windows bootable flash, make sure that you have moved all the files inside it because in this process, the flash will be formatted and all its data will be erased. Once you have the flash and ISO file ready, you are ready to proceed.
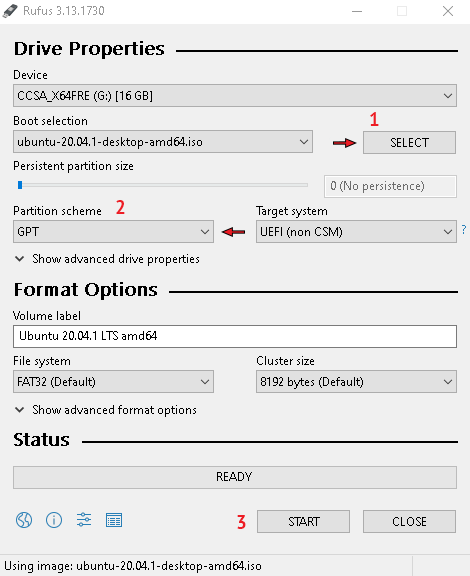
Step 2: Create a USB drive with the Rufus software
Note: To access the Rufus software, you can download the Rufus software through the link above
Then we run the Rufus software
Now we can easily enter the BIOS and select the bootable flash to start the installation.
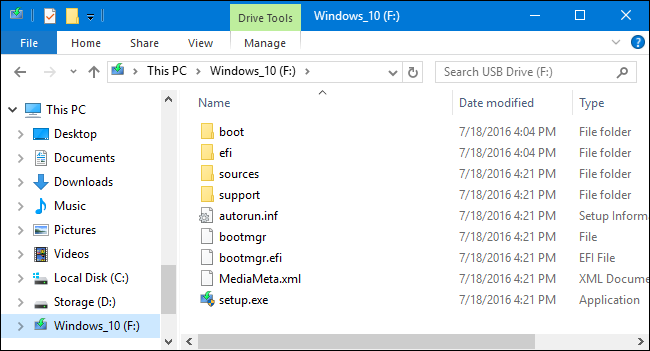
Now if you take a look at the flash in File Explorer, you’ll see that the same files that were on the Windows installation DVD have been copied into it.
- Enter the Bios page to boot the flash
We can easily go to the BIOS to select the flash memory bootloader that we use to install Windows; Be careful that entering the BIOS is different in each system; In case of failure using the methods recommended in the article, you can search through the Internet or inform through the online chat section so that we can teach you the desired methods to enter the BIOS page of the desired system;
Conclusion
Now that you have a Windows installation USB drive, you can use it to boot a computer to install Windows on it. We can easily go to the BIOS to select the bootloader of the flash memory we use to install Windows. Be aware that entering the BIOS is different on each system. In case of failure, I will teach you the desired methods of entering the BIOS page of the desired system by leaving a comment on this page.