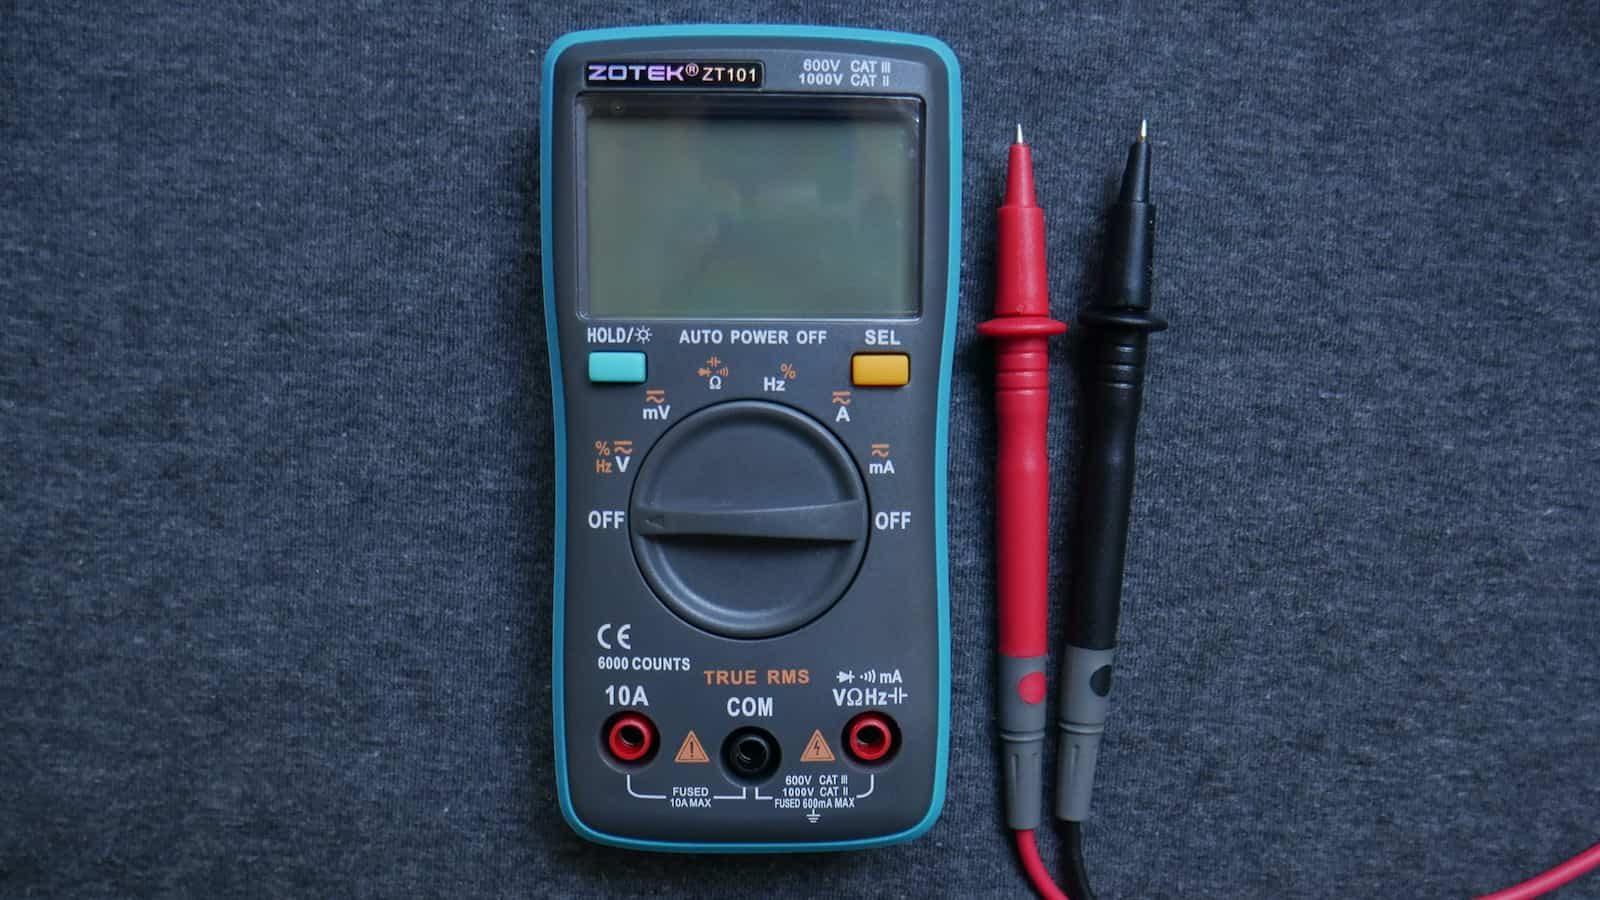
What is a multimeter?
One of the most useful tools available for testing the health of the internal parts of a mobile phone is called a multimeter. This device helps you to easily find the broken part of your phone and replace it. The multimeter has two general types, analog and digital, and the digital version is simpler and better, and we suggest you go for a digital multimeter.
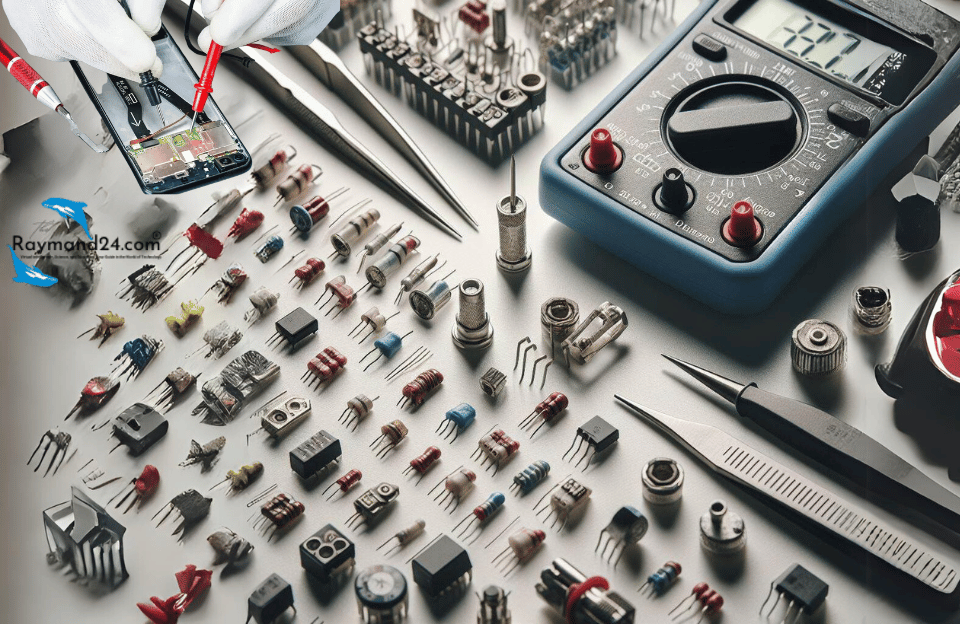
How to Test SMD Components with a Digital Multimeter
Learn how to effectively test Surface Mount Device (SMD) components using a digital multimeter (DMM) for accurate results.
Introduction
Surface Mount Device (SMD) components are commonly used in modern electronic devices due to their small size and high efficiency. Testing these components with a digital multimeter (DMM) is essential for diagnosing faults and ensuring proper functionality.
Steps to Test SMD Components
Set Up Your Multimeter
Ensure your digital multimeter is set to the appropriate settings for the component you are testing. Select the resistance or diode testing mode depending on the type of SMD component.
Identify Component Pins
Identify the pins of the SMD component you are testing. Refer to the datasheet or component markings to determine the correct pin configuration.
Place Probes
Place the multimeter probes on the corresponding pins of the SMD component. Ensure a secure connection between the probes and the component.
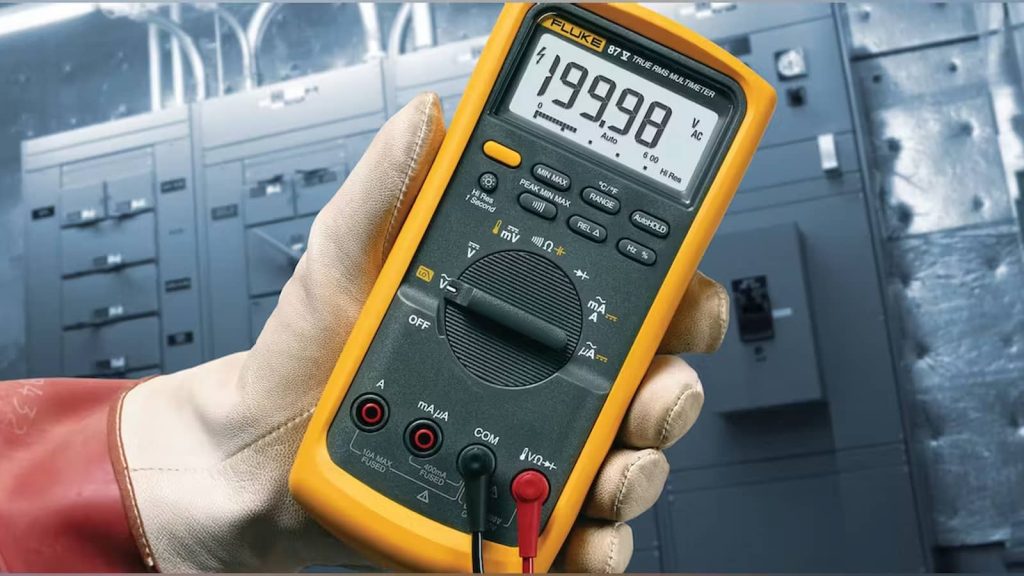
Read Measurements
Read the measurements displayed on the multimeter. Compare the values to the specifications provided in the component datasheet to determine if the component is functioning correctly.
Interpret Results
Interpret the results of the multimeter measurements. A consistent and within-specification reading indicates a healthy component, while inconsistent or out-of-spec readings may indicate a faulty component.
Benefits of Testing SMD Components with a Digital Multimeter
- Ensures proper functionality of SMD components.
- Identifies faulty components for replacement.
- Helps diagnose electronic circuit faults accurately.
- Saves time and resources by pinpointing issues quickly.
- Improves overall reliability and performance of electronic devices.
how to test mobile parts with a multimeter
In the following, we will teach you how to evaluate the health of parts through a multimeter.
Phone vibrator test
The vibration engine of the phone is responsible for making the phone vibrate when necessary. It is the motor that makes your phone vibrate when it rings. To check the health of this part, just put the red and black probes on both sides of the vibrator and leave the multimeter in open mode. If you hear a beep after doing this, it means that the phone’s vibration motor is in perfect health.
Phone speaker-test
The speaker needs no introduction and its task is to produce sound. To test this part, put the multimeter in open mode and connect the probes to both sides of the speaker. If you hear a beep from the multimeter, it means the speaker is healthy. Of course, if the number displayed on the multimeter is outside the range of 25 to 35, it means that the speaker of the phone has a problem.
Phone microphone test
Your voice is transmitted or recorded to the other party through the microphone during the conversation, voice sending, voice recording, video recording, and all such cases. After placing the multimeter in open mode and connecting to both sides of the microphone, you should see a number between 600 and 1800, and if the number is outside this range, the microphone is broken. On the other hand, the multimeter itself should not make a sound at all.
phone battery test
One of the parts that loses its efficiency over time and needs to be replaced is the battery. The battery provides the energy needed by the phone, and if it is not in perfect health, you will not receive proper charging. Set the multimeter in the DC range and the 20V mode. Connect the two probes to the negative and positive ends of the battery. If the battery is healthy, the number 3.7V should be displayed.
Capacitor test
Put the multimeter in the opener mode and place the probes on both sides of the desired capacitor. No sound should be heard from the multimeter, and if you hear a beeping sound, the capacitor is damaged.
Diode test
The diode test is exactly like the capacitor, and if you connect the multimeter, you should not hear a beep.
Transistor test
There are two general types of transistors PNP and NPN. To start the test, connect the positive probe of the multimeter to the connector part and the negative probe to the base part. A healthy PNP transistor should show you a voltage of 4.5 to 9 volts. On the other hand, if the NPN transistor is healthy, the multimeter will display OL or Over Limit
Conclusion
In this article, we introduced the multimeter and explained how you can measure the state of health or failure of parts with this device
Multimeters generally have two black and red wires, which are called probes