There are two ways to convert a regular or wireless printer into a network printer:
- The first method is to use a modem or router that supports a USB port
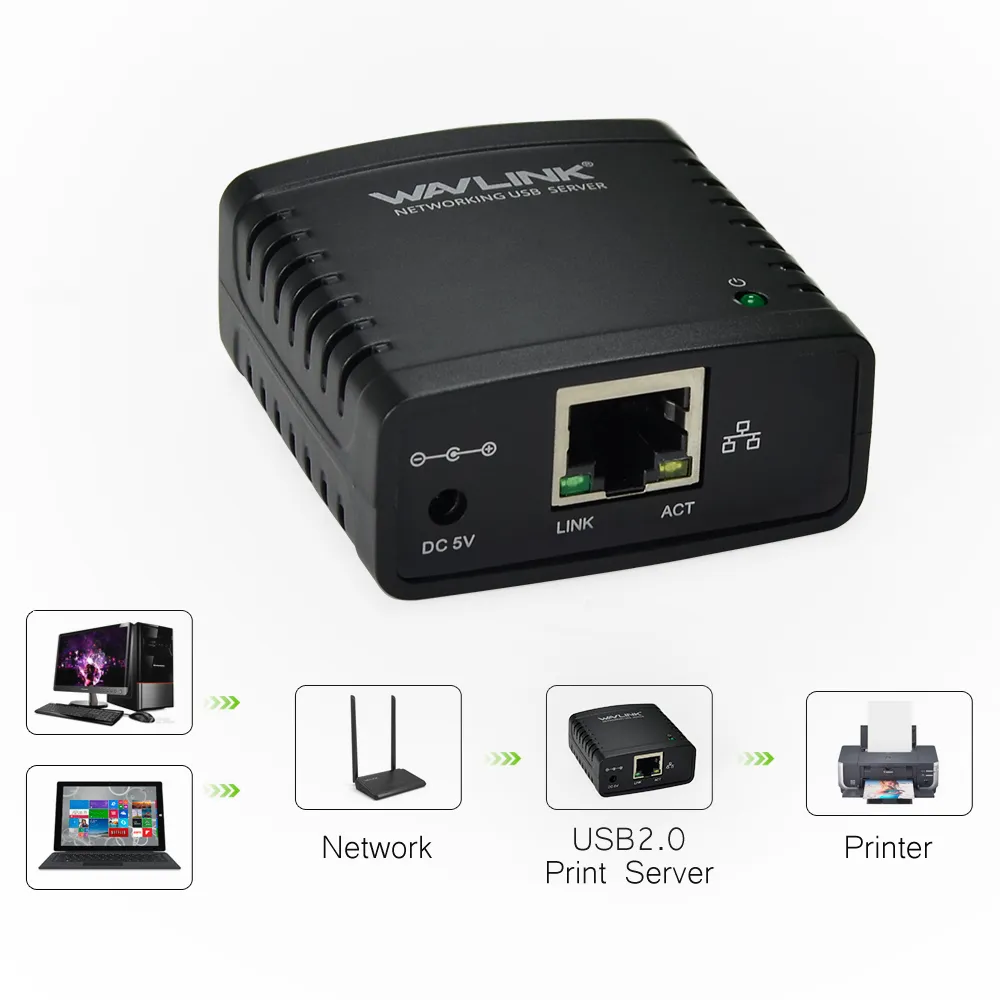
- The second method is to use a print server, which is a conversion that converts the USB port of the printer into a network
Networking the printer with a USB modem
To share the printer on the network using a USB modem, you must have a USB port on the back of your modem. But if your modem does not have a USB port, you can use the Ethernet port and USB to Ethernet conversion cables. After finding the modem port, follow the steps below:
- Place your printer near the modem. Note that the printer should be close enough to the modem that you can connect the USB cable to it without bending or kinking it.
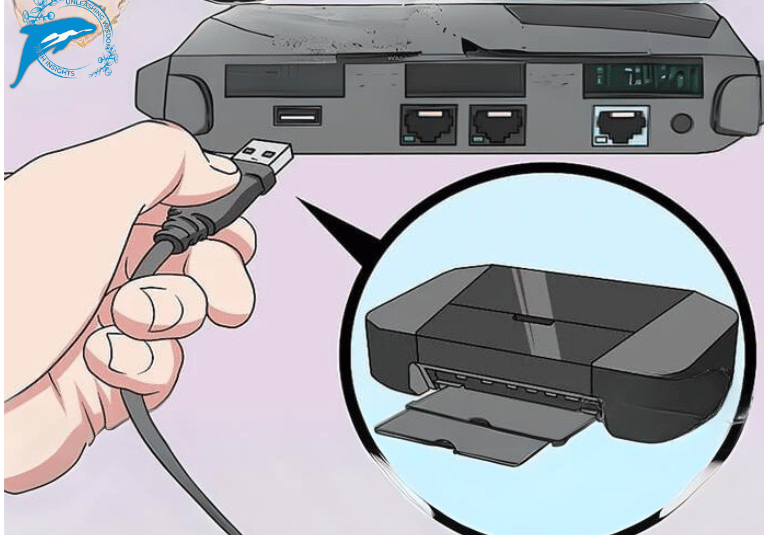
- Connect one end of the USB cable to the back of the printer and the other end to the back of the modem. If you are using a USB to Ethernet converter cable, connect it to one of the Ethernet ports on the back of the modem.

- Connect your printer to a power source and turn it on using the on/off button.
- It is better to wait 10 minutes so that your modem has time to identify and communicate with the printer.
- Now you should try to connect to the printer.
Make sure your computer is connected to the same wireless network as the modem. To ensure this, depending on the type of operating system, you can follow the following steps:
Windows operating system
- Enter the control panel through the Start
- Search for Devices and Printers in the search field.
- Open the Devices and Printers page.
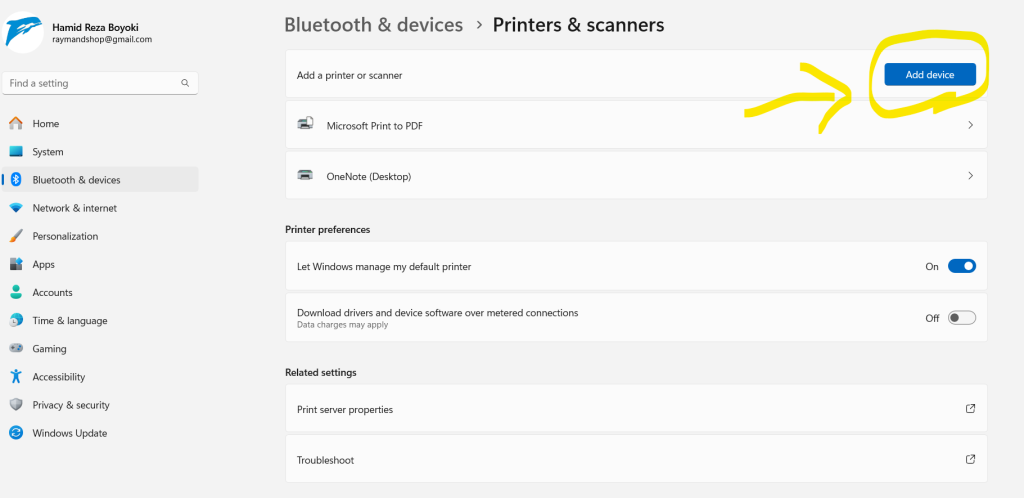
- Now, in the window that opens, click on the name of your printer and click Add a device.

Networking the printer with a Print Server
To convert a USB printer to a network printer, you can use a USB-to-network converter. This converter acts as an intermediary between the printer and the network and connects the printer to the converter through a USB cable and to the network through a network cable. To convert a USB printer to a network printer, you can follow the following steps: Buy a USB-to-network converter. This converter usually has a USB port and a network port. Connect the USB printer to the USB to the network adapter. Connect the USB to network adapter to the network using a network cable In the printer settings, for the connection type, select the network printer option Enter the IP address of the USB to the network converter as the printer address in the printer settings. Save the printer settings and then test the printer by printing a document to make sure the printer is set up correctly. Finally, by connecting the printer to the network, you can use any computer on the network to print.


