Troubleshooting Guide: How to Fix “TPM 2.0 is a Requirement for Running Windows 11” Error
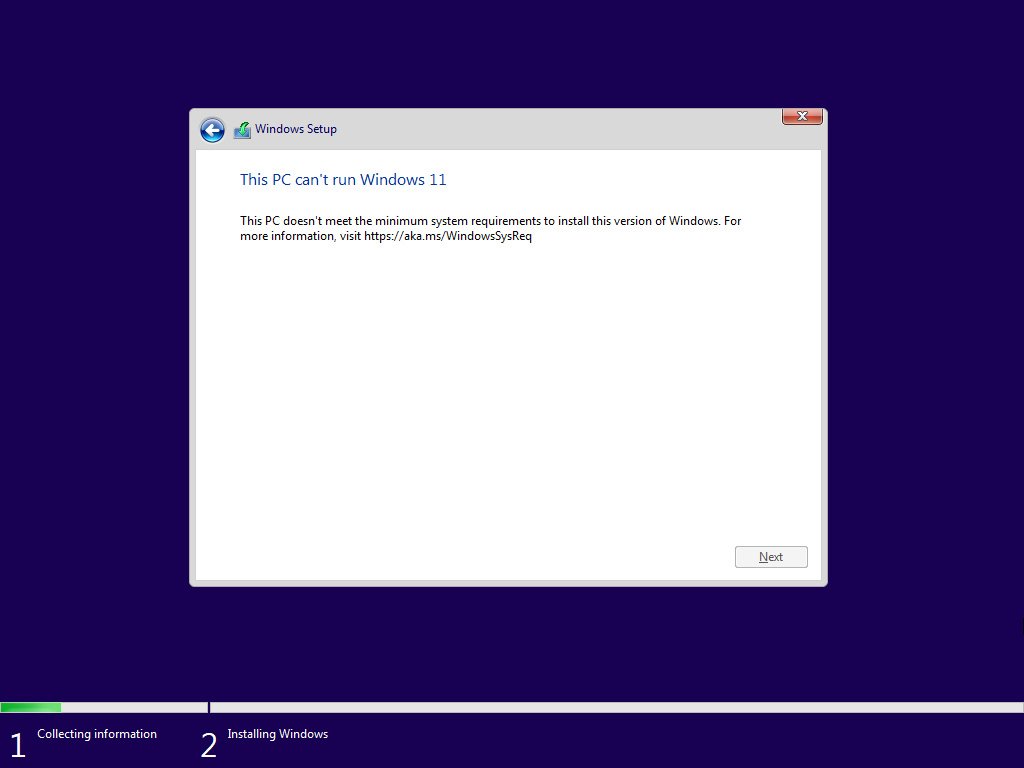
If you’re attempting to install Windows 11 and encounter the message “This PC can’t run Windows 11,” chances are you haven’t installed or activated TPM 2.0.
The good news is, that Microsoft has introduced a new registry key called “LabConfig” that allows you to bypass TPM 2.0, 4GB RAM, and Secure Boot requirements.
To bypass the TPM 2.0 error during Windows 11 installation, follow these steps:
1-Install Windows 11: Install Windows 11 either through the ISO file or Windows 11 Insider Program. During installation, if your computer doesn’t meet the hardware prerequisites for Windows 11, you’ll see a message stating: “This PC can’t run Windows 11.” Click here to sign up for the Windows Insider Program and install Windows 11.
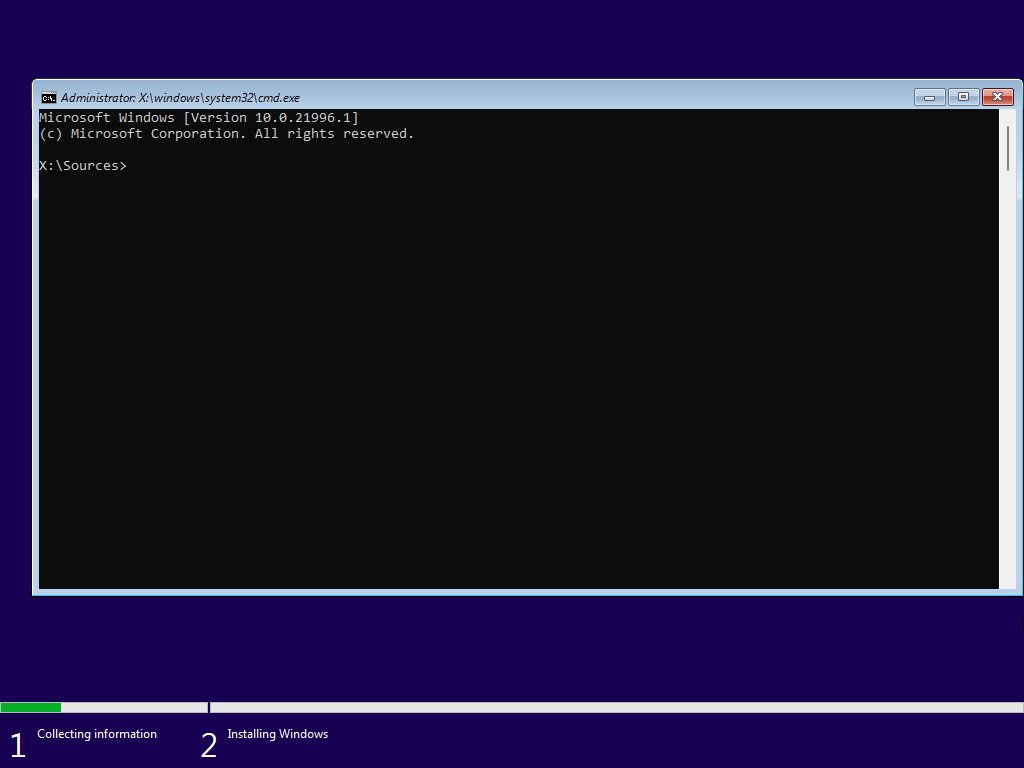
2-Access Command Prompt: When you see the above message, simultaneously press Shift + F10 to launch the command prompt (cmd). In the cmd, type “regedit” and press Enter to launch the Windows Registry Editor.
3-Navigate to Registry Key: Once the Registry Editor opens, navigate to HKEY_LOCAL_MACHINE\SYSTEM\Setup. Right-click on Setup, select New > Key.
4-Create New DWORD Values: Right-click on LabConfig, select New > DWORD (32-bit) value, and create a value named “BypassTPMCheck” with a value of 1. Similarly, create values named “BypassRAMCheck” and “BypassSecureBootCheck” with values set to 1.
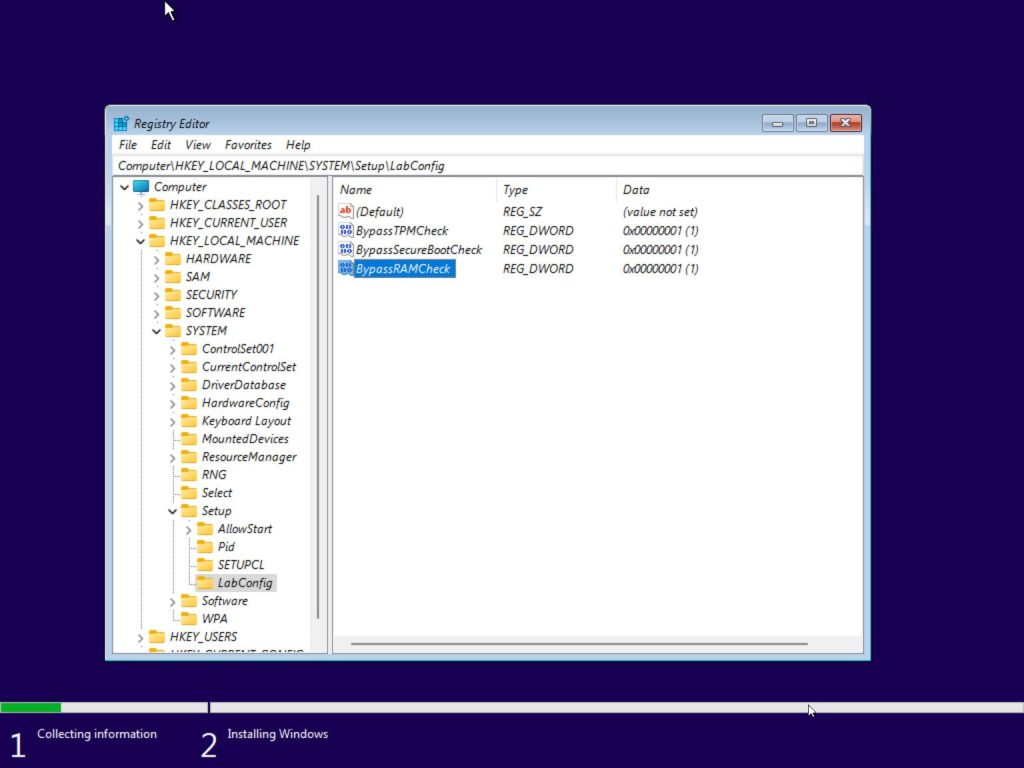
5-Close Registry Editor: Once you’ve configured these three values under the LabConfig key, close the Registry Editor and type “exit” in the command prompt. Press Enter.
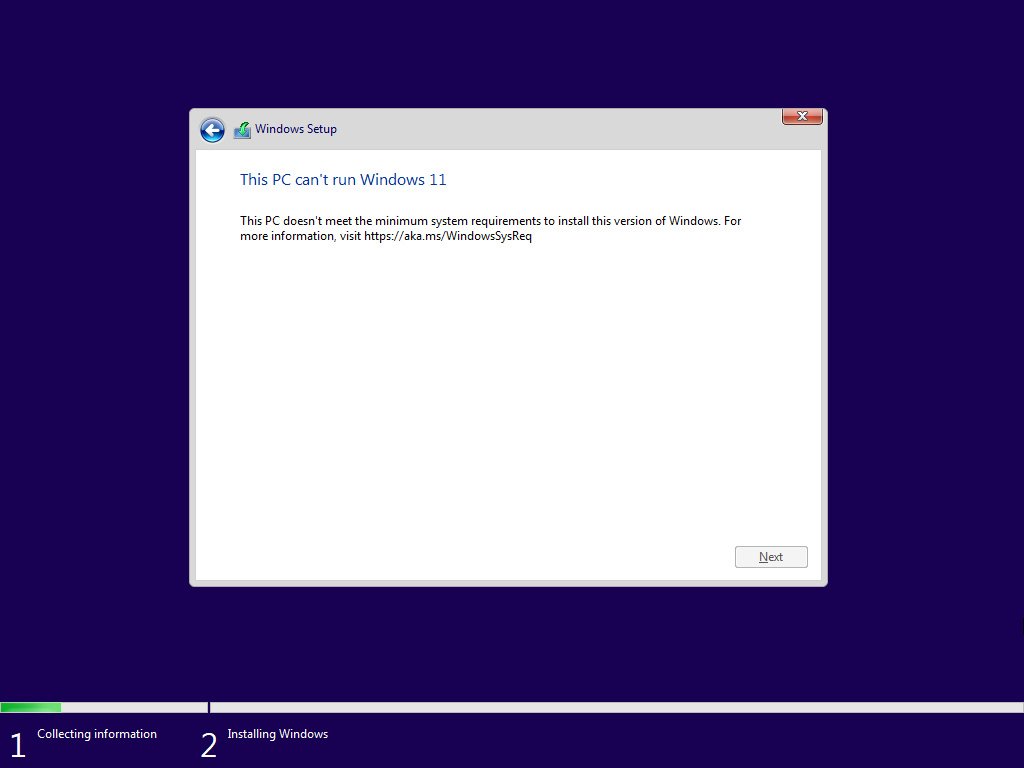
6-Retry Installation: You should now encounter the “This PC can’t run Windows 11.” error again. Click on the back button in the Windows Setup window.
Now you can proceed with the installation of Windows 11 without encountering any specific errors such as the absence of TPM 2.0 and Windows 11 prerequisites.


