What is the effect of upgrading laptop RAM?
One of the easiest and most effective ways to improve the performance of your laptop is to upgrade its RAM. Increasing the laptop’s RAM allows you to have more programs open at the same time and also open more tabs in your browser without any tab being closed or refreshed.
Also, this work makes heavy software and games run much better on your laptop. RAM is a temporary memory, the increase of which makes the central processor access the available data faster and thus the laptop becomes faster. On the other hand, low RAM puts more pressure on the processor and memory, and this slows down the system.
In short, increasing the RAM of the laptop will have a great impact on its daily performance, and we recommend increasing the RAM of your laptop if possible.

Is your laptop RAM upgradeable?
Not all laptops can increase the RAM, and if you buy a new laptop that is a little thick, likely, you will likely not be able to increase its RAM. But how can you understand this?
Do the following steps.
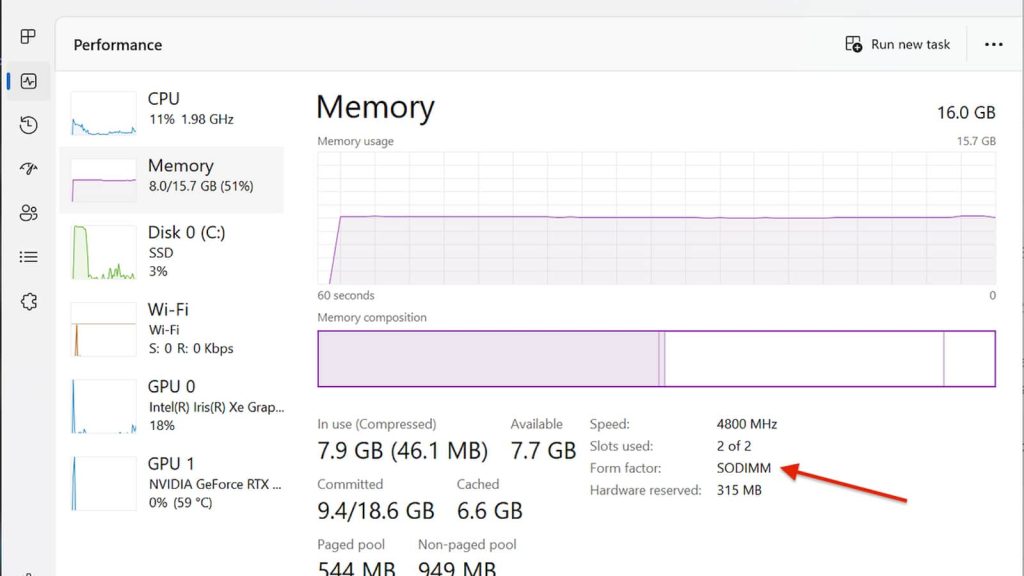
- Go to Task Manager.
- Click on Performance
- Tap the Memory option
- Check what is written under the Form factor section If SOLDIMM is written, it means that RAM can be removed and upgraded
Detecting laptop RAM in MacBook:
If you use a Macbook, no more! Apple has soldered RAM to MacBooks since Retina displays were introduced in 2012. It means that it is not possible to upgrade the RAM.

Upgrading and replacing laptop RAM
In the following, we will fully explain the steps for replacing the RAM of the laptop. These steps are almost the same between different brands, but in general, if you don’t have the necessary skills to do this yourself, it’s better to go to an expert or a repairman.
- Make sure the laptop is unplugged.
- Turn off the laptop.
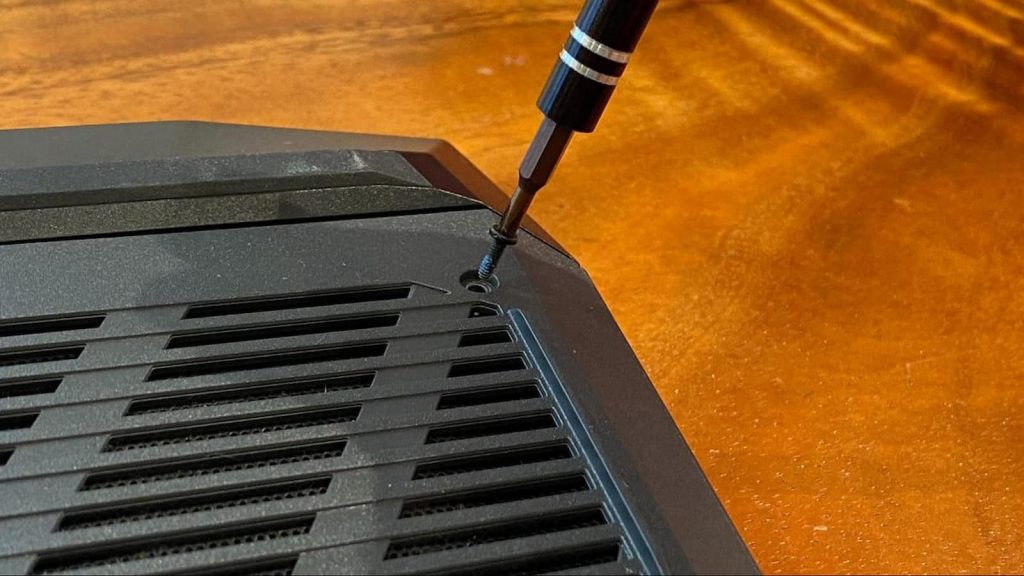
- Open the back pages of the laptop to remove the back cover.
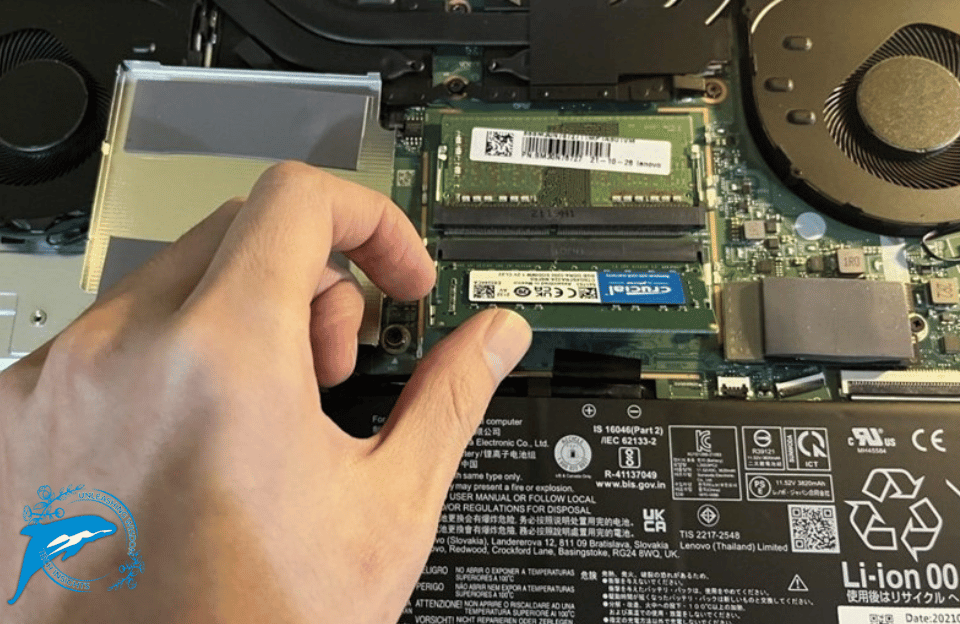
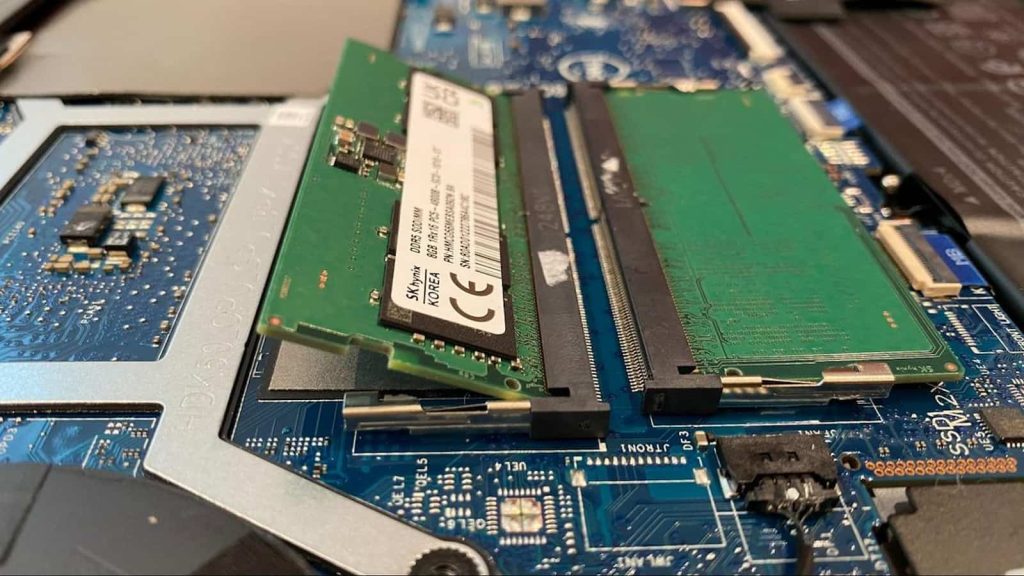
- Keep in mind that you should always hold the RAM by the sides and never touch the middle part or touch the connectors.
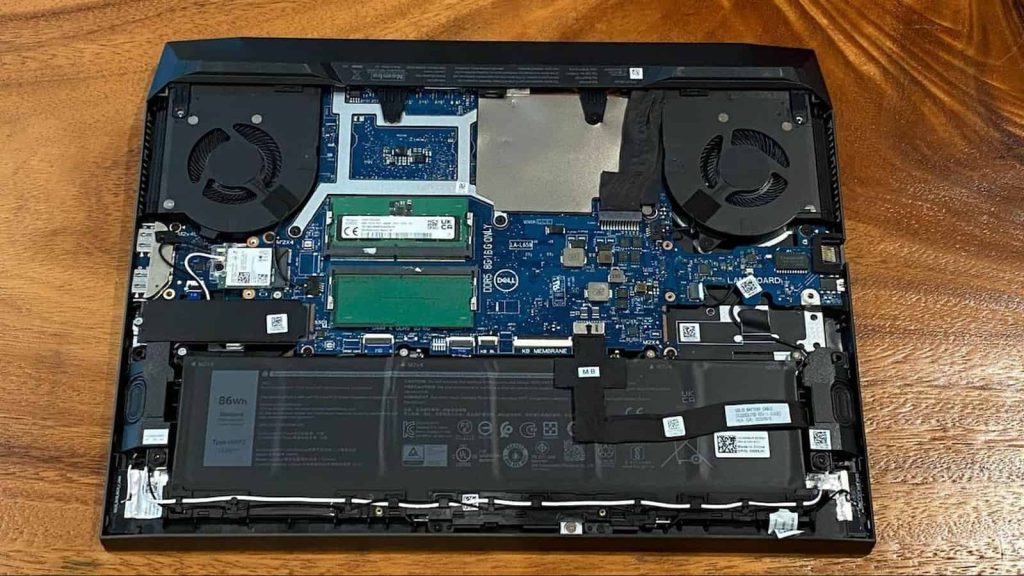
- Find the RAM of the laptop.
- Remove the previous RAM. To do this, you need to press the RAM clip down to release this part. After this, take the RAM from the sides and remove it from the clip. Keep in mind that if your laptop has free space, you don’t need to do this step.
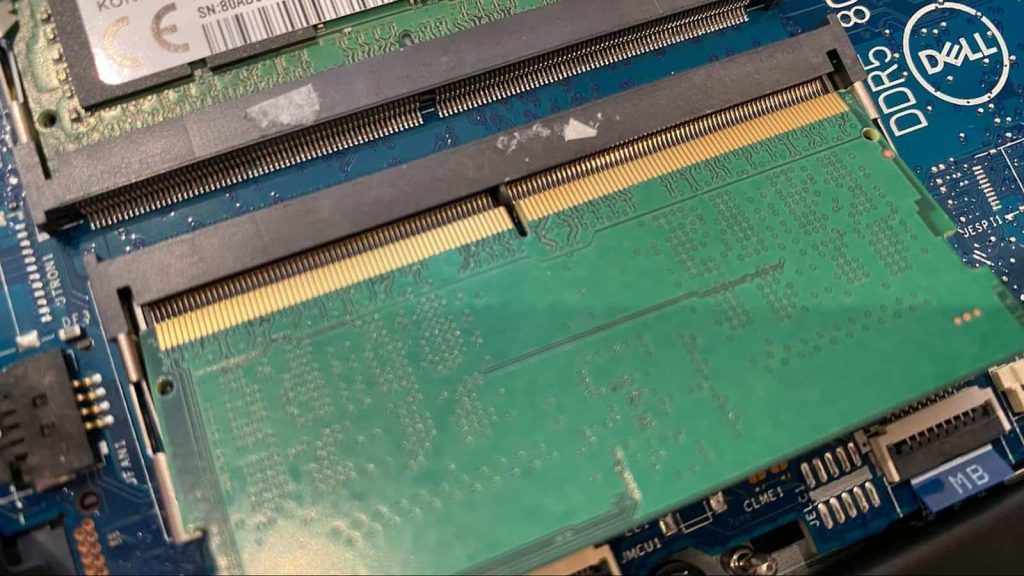
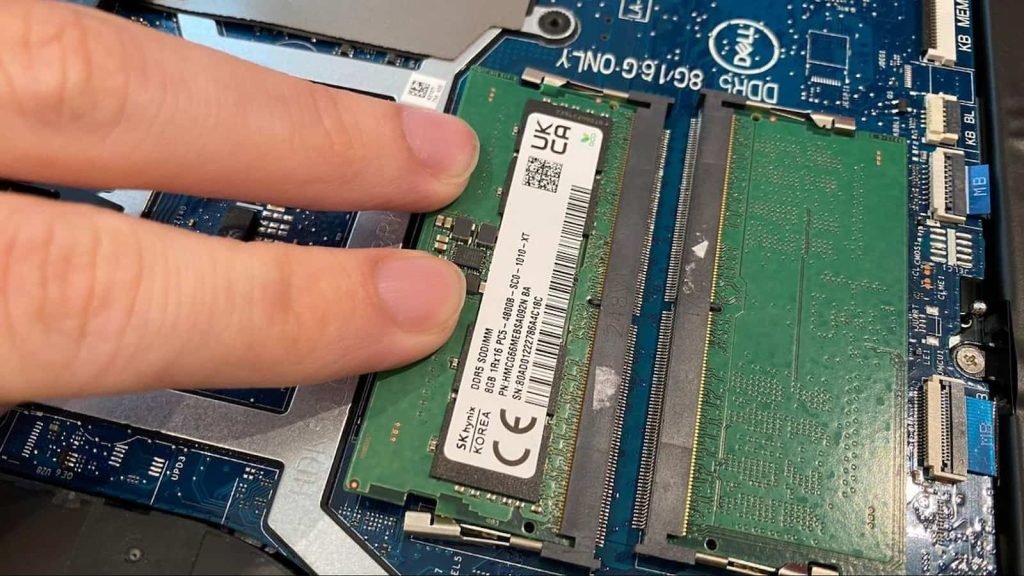
- Take the new RAM from the sides and put it in the clip exactly according to the RAM you removed from the laptop. Keep in mind that the pins must match exactly, otherwise you may have installed the RAM backward.
- Gently push the clip down until it locks.
- Close the back cover of the laptop and turn it on.
- Now go to Settings, System and About section and see the amount of RAM.
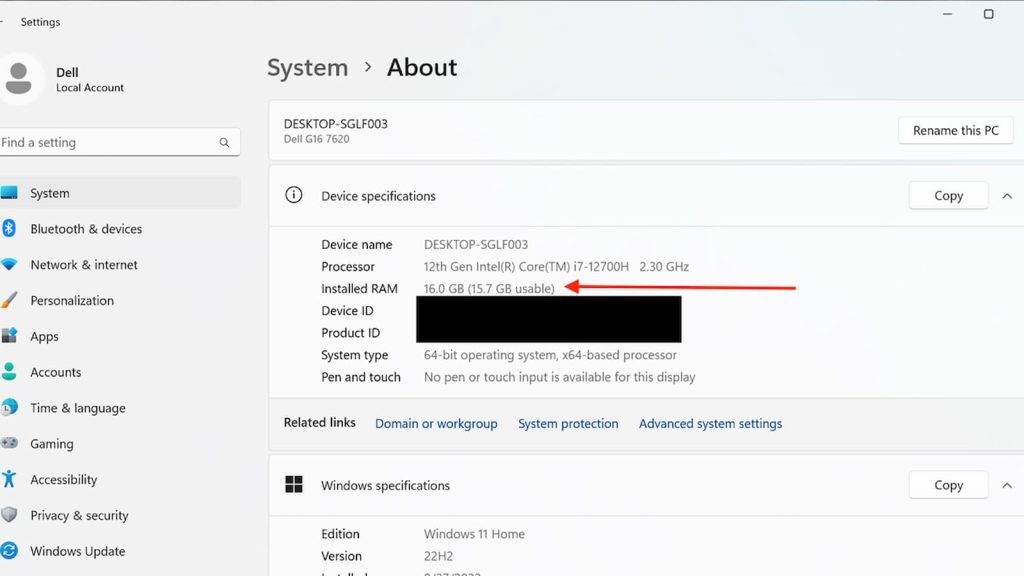
- If the amount of installed RAM is not displayed in this section, it means that you have not placed it correctly and you should repeat the above steps.
Conclusion
In this article, we have provided a complete tutorial on how to replace and upgrade laptop RAM, and we have also explained how to identify the right RAM for the device. In general, upgrading RAM is not difficult if you buy the right option, but in any case, it requires a little skill.
From the link below, you can choose and buy your desired RAM capacity based on the bus that the laptop supports