Microsoft Edge browser was developed and produced by Microsoft company to replace Explorer from now on.
The new versions of Windows 10 were released to the market along with the new Microsoft Edge browser, and this software has much better features than the Explorer browser, from very high speed and small size, its installation file to a suitable and well-designed user environment for use. General users.
On the other hand, in the Edge browser, you can mention the setting of tabs separately, as well as the use of HTML5, which has much higher performance and security than Flash. Among the other features and applications that will soon be added to the Microsoft Edge browser is the Books icon for reading books purchased by users from the store. By using this feature, the browser can read books with a suitable voice from the browser. It is also Edge.
But one of the most important features of this browser, which can make it quite sufficient and popular for Microsoft users, is the possibility of installing Chrome extensions on Microsoft Edge, which, of course, is disabled by default and needs to be activated by the user.
Therefore, in this article, the Raymand technical group will teach how to install and use Microsoft Edge along with installing Chrome extensions on it. So be with Raymand24 to provide this training to you.
Microsoft company produced and designed the Edge browser based on Google Chrome and hence it is called the Chromium Edge version
HOW TO INSTALL GOOGLE CHROME EXTENSION ON EDGE CHROMIUM-BROWSER
To install and use Chrome extensions on Microsoft Edge, you must do the following steps:
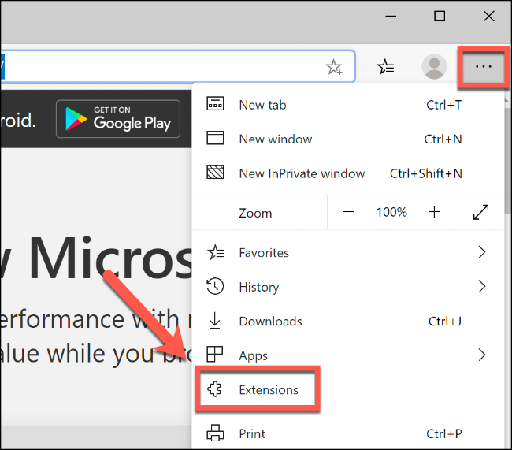
A) First, open the Edge browser and click on the three dots shown in the image. After displaying the menu, click the Extension option.
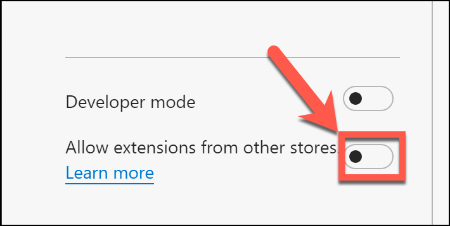
B) By entering the new page related to the settings of the Edge browser extensions, click on the Allow extension from the other store option on the left side and at the end of the window so that it will be actively changed.
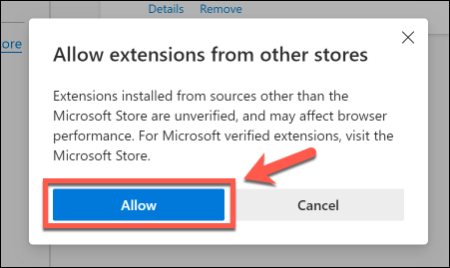
C) By activating this option, a message will be displayed to you, the content of which is as follows: the extensions that you intend to install are not approved in the Microsoft Store and can cause security problems for your system.
In this step, click on the Allow option.
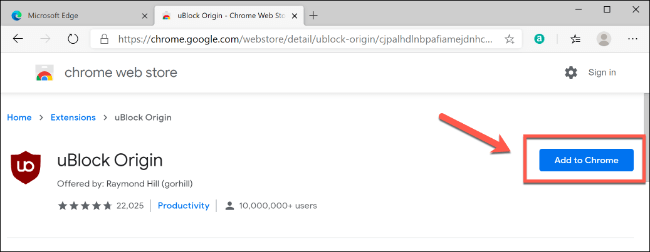
D) Now, to install those Google Chrome extensions on Microsoft Edge that you are considering, enter the Google Chrome website through the browser and click on Add to Chrome after selecting the desired extension.
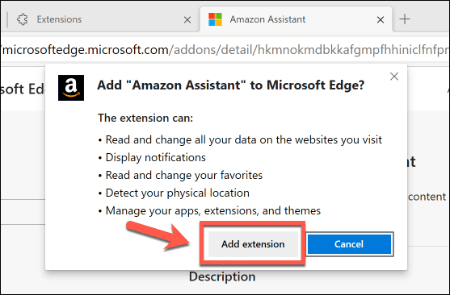
E) A small window will be displayed, confirming that the Chrome extension will be installed on Microsoft Edge.
Remove the extension from Microsoft Edge
To remove additional add-ons from Microsoft Edge, you must do the following steps in order:
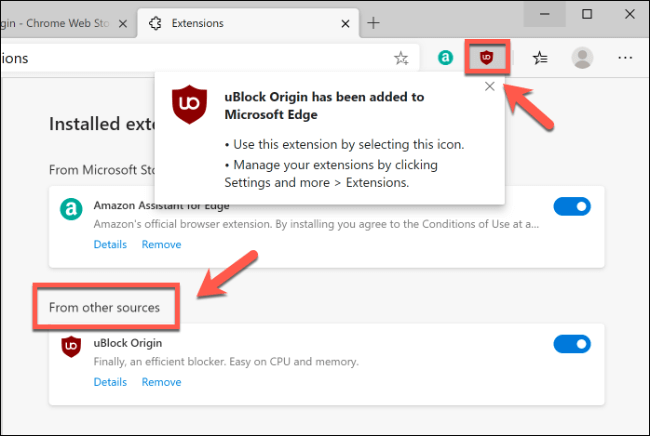
A) First, type edge://extensions in the address bar of the Microsoft Edge browser and press Enter. From the displayed list, find the plugin you want to delete and then click on the Remove option which is in blue.
B) If the confirmation option to remove the add-on is displayed again, click Remove again so that the desired add-on is completely removed from Microsoft Edge.
tip:
- If you want to disable the plugin in the Edge browser, just click on the button facing the plugin name to disable the plugin.
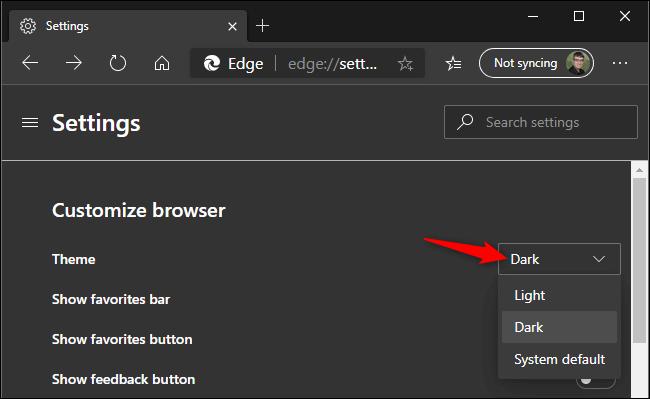
- The Microsoft Edge browser has Dark Mode, or the mode suitable for use at night, which you can do by clicking on the three horizontal dots and entering the Settings window, then changing the Choose a theme bar and field and choosing the Dark option of the Edge browser. Prepare for night mode.
- Currently, many other themes available in plugins are not applicable to this browser, but due to the high-speed updates and updates of the Edge browser, it is possible to use new themes soon.
Thank you for being with Raymand with this tutorial. If you encounter any problem in any of the steps of this tutorial, you can raise your problem in the comments section so that they can solve your computer problem as soon as possible.

